Meat and Poultry
Pan-Roasting: The Secret to Weeknight Chicken Success
There’s a moment in every home cook’s life when they realize the oven has been lying to them. Not maliciously — the oven means well — but it’s slow, it’s passive, and it turns weeknight chicken into a waiting game. Enter pan-roasting: the hybrid technique that gives you a crackling, golden sear and a thoroughly cooked bird, all in one pan, in under 25 minutes.
It’s not magic. It’s just physics — and once you understand how it works, you’ll wonder why anyone bothers any other way.
What Is Pan-Roasting, Exactly?
Think of pan-roasting as a two-act play. Act one: a screaming-hot skillet builds a mahogany crust on the skin side of your chicken. Act two: the whole pan moves into the oven to gently roast the meat through without drying it out. You get the best of both worlds — the Maillard reaction’s deep, savory crust from direct heat, and the even ambient heat of the oven finishing the interior like a warm embrace.
The result? Skin that shatters when you cut into it. Meat that stays juicy all the way to the bone. Dinner on the table before anyone starts raiding the snack cabinet.
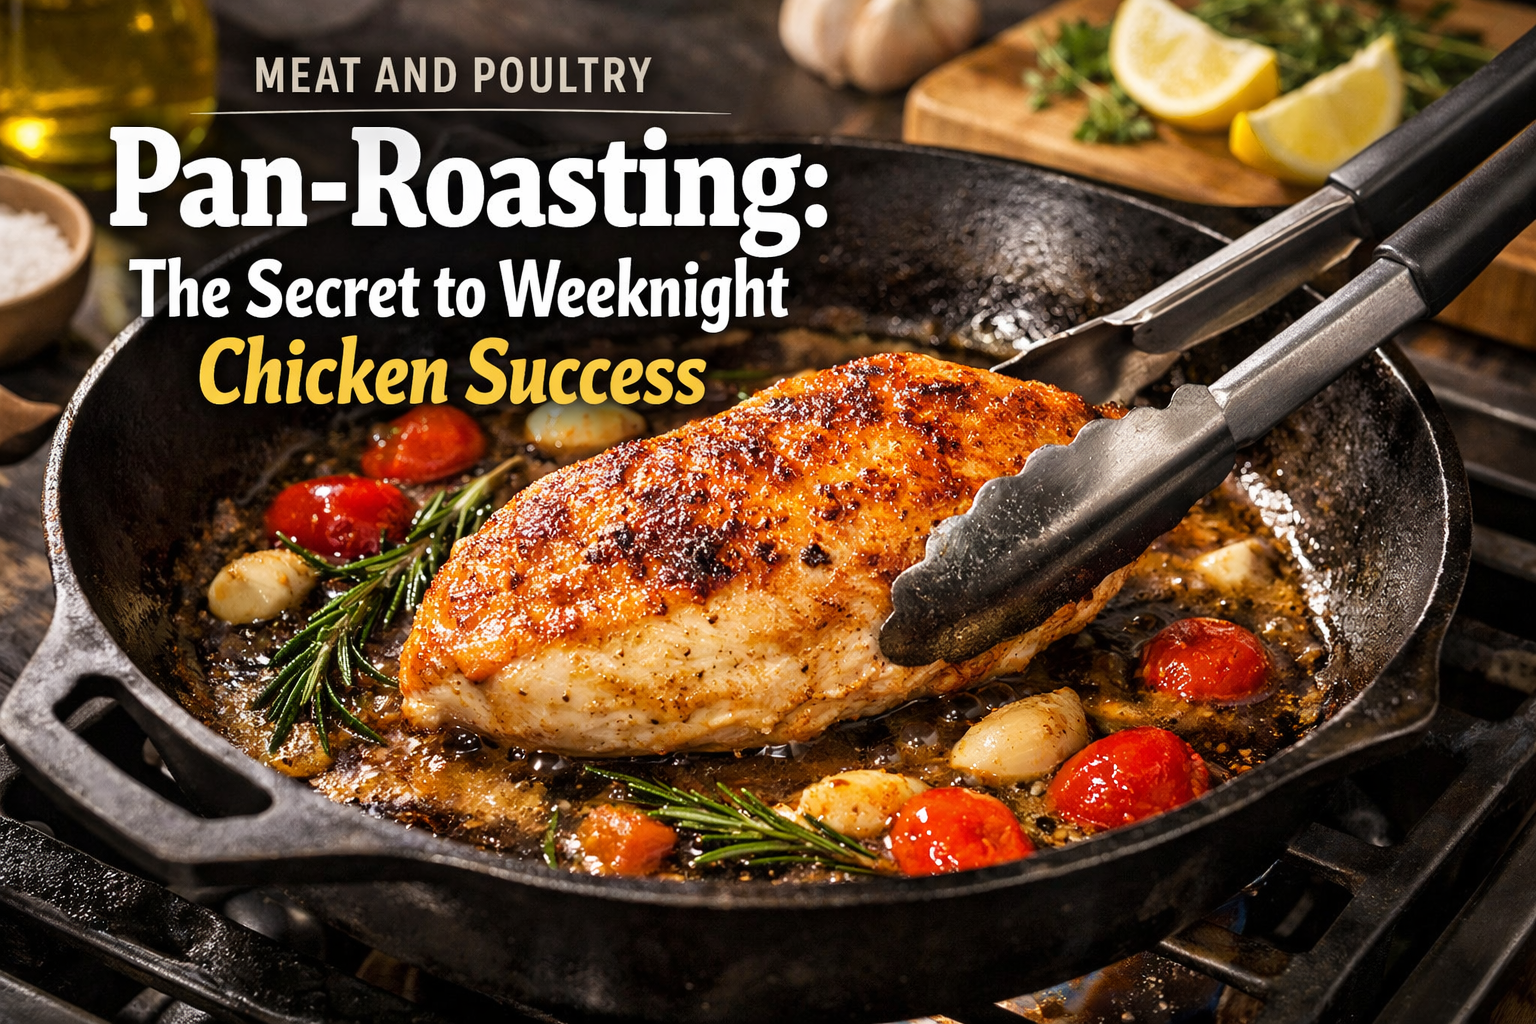
Here’s how the technique unfolds from pan to oven:
![]()
The Setup: Why Dry Skin Is Your Best Friend
Before the pan even hits the flame, there’s one non-negotiable step: dry your chicken like it owes you money. Moisture is the enemy of browning. Any water lingering on the skin will steam rather than sear, and you’ll get pale, rubbery skin instead of the mahogany crunch you’re after.
Pat the pieces down with paper towels. Then — if you have time — leave them uncovered in the fridge for an hour or even overnight. The refrigerator acts like a gentle dehydrator, wicking away surface moisture and concentrating flavor at the same time. Season generously with salt right before they hit the pan.
The Pan: Cast Iron Is King (But Not the Only Kingdom)
A cast iron skillet is the gold standard here, and for good reason: it holds heat like a grudge. When you drop cold chicken into a well-preheated cast iron pan, the temperature barely flinches. That sustained high heat is what builds the crust.
That said, a heavy stainless steel skillet — the kind with no plastic handles — works perfectly fine. The one thing you cannot use is a non-stick pan. Non-stick coatings degrade at the high temperatures required, and they won’t give you the fond (those caramelized browned bits) that makes pan sauce a possibility later.
Act One: The Sear
Get your pan ripping hot before the oil goes in, and get the oil shimmering before the chicken goes in. This is the moment where so many home cooks stumble — they add chicken to a pan that isn’t quite hot enough, the skin sticks, they panic and try to pry it loose, and the whole enterprise falls apart.
Here’s the secret: don’t move it. Chicken that’s properly searing will release from the pan on its own when the crust has formed. If it’s sticking and resisting, the crust isn’t ready. Give it another minute. Trust the process.
Sear skin-side down for 4–5 minutes until deep golden-brown. You want color here — real color, not “lightly golden.” If it looks done when it hits the oven, it’ll look overdone when you eat it. Cook the skin like you’re confident.
Act Two: The Oven Finish
Flip the chicken, and the whole pan goes into a preheated 425°F oven. This is where the magic of indirect, ambient heat takes over. The top of the chicken gets gentle all-around warmth while the bottom continues to cook from residual pan heat. The result is meat that cooks evenly without the outside drying out before the inside is done.
Bone-in chicken thighs and drumsticks need 12–15 minutes. Breasts, being thicker and more unforgiving, need about 18–20 minutes — but get a thermometer involved. You’re looking for 165°F at the thickest point, not a minute longer.
The Rest: The Step Nobody Wants to Do
I know. You’re hungry. The chicken looks beautiful. The kitchen smells incredible. But let it rest for five minutes, tented loosely with foil. During cooking, the muscle fibers tense up and push moisture toward the center. Resting lets everything relax and redistribute. Cut too soon and those juices pool on your cutting board instead of your plate. Five minutes of patience returns enormous dividends in succulence.
The Bonus: Pan Sauce in 3 Minutes
Here’s the gift you didn’t know you were getting. After the chicken rests, you have a pan full of schmaltz, browned bits, and concentrated chicken flavor. Set it over medium heat, toss in a chopped shallot, cook for a minute, deglaze with a splash of white wine or chicken stock, scrape up all that fond, add a knob of butter, and swirl until glossy.
You just made a restaurant-quality pan sauce with the drippings that most people rinse down the drain.
Pan-roasting isn’t a complicated technique — it’s a confident one. It asks you to commit to high heat, trust your instincts, and respect a few simple rules. Do that, and weeknight chicken stops being a chore and starts being something genuinely worth looking forward to.