Bakery
STEP 8: Understanding Bench Rest: An Essential Step in Bread Making
Bread making is an art that blends science, patience, and passion. Every step in this multifaceted process holds significance, directly impacting the outcome of your loaf. From the precision of weighing ingredients to the finesse of cooling your baked bread, each phase integrates to produce delicious results. As part of our series “Steps of Baking,” today we delve into one often-underestimated step: bench rest. Let’s explore why bench resting is so crucial and how understanding its nuances can elevate your bread-baking skills.
What is Bench Rest?
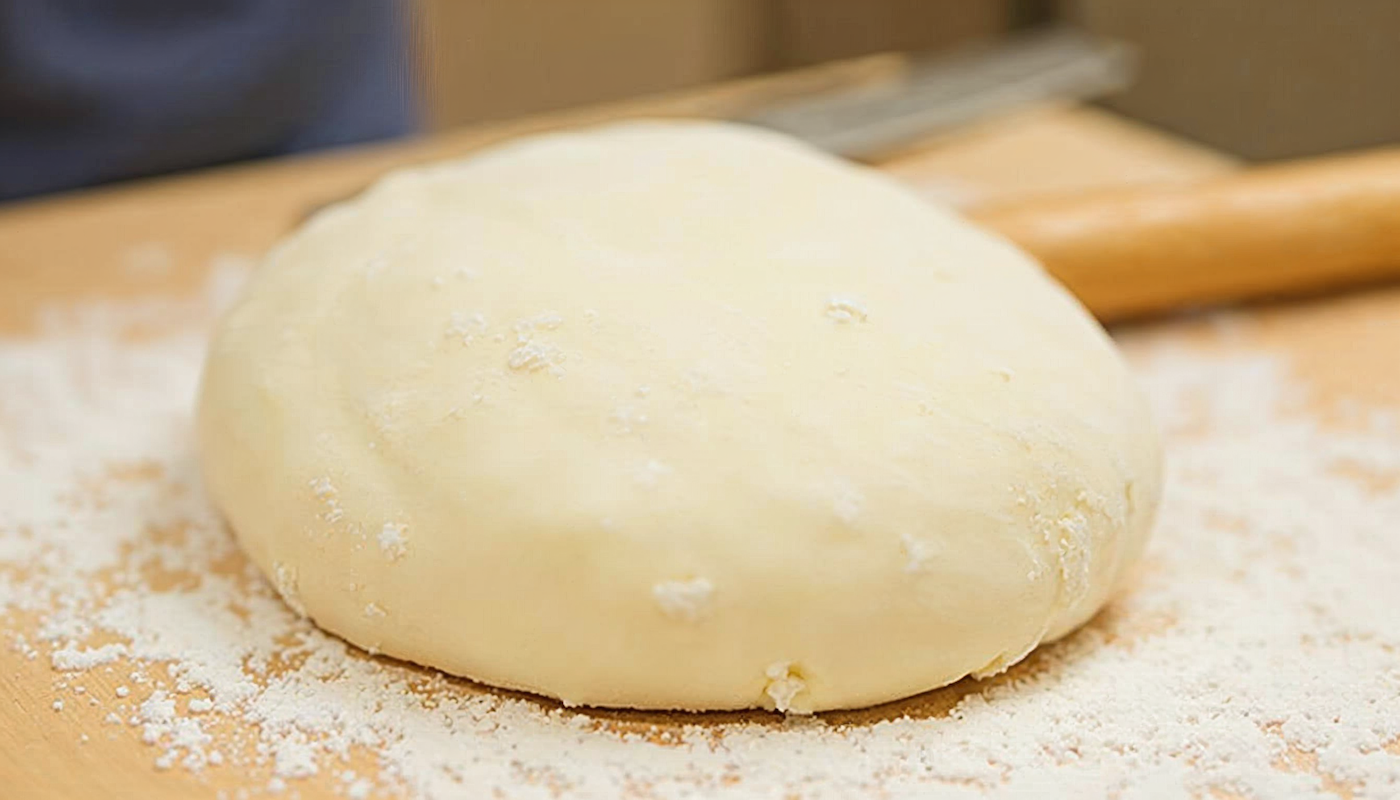
Bench rest is a simple yet essential step in the bread-making process, occurring right after pre-shaping the dough. As the name suggests, this step involves resting the dough on your workbench or countertop for a short period. This period of rest allows the dough’s gluten structure, which tightens during the stretching and folding of pre-shaping, to relax. Proper relaxation is crucial for ensuring the dough’s elasticity and preventing tears during final shaping.
The Science Behind Bench Resting
- Gluten Relaxation
Gluten, the network of proteins responsible for dough’s elasticity and structure, plays a key role in bread making. During pre-shaping or kneading, the gluten network constricts, making the dough tight and somewhat resistant to further manipulation. Bench resting allows this network to relax, softening the dough and making it easier to shape without tearing.
- Impact on Fermentation
Alongside gluten development, fermentation also plays a part during bench rest. While resting, the yeast continues its work in fermenting the dough, although at a slower pace. This slow, continued fermentation contributes to improved flavor and texture.
When to Bench Rest and When to Skip It
While bench resting is important for many types of bread, there are circumstances when it can be omitted. Understanding when and why to include or skip bench resting can help streamline your baking depending on the type of bread being prepared.
- Cases for Bench Resting
- Tight Pre-Shaping: If you’ve pre-shaped your dough tightly, it will require more time to relax, and a bench rest becomes essential to ensure the dough is workable and won’t tear during final shaping.
- Fast-Fermenting Doughs: For yeasted loaves that ferment rapidly, a short bench rest is crucial to prevent over-tight gluten from inhibiting shaping.
- Skipping Bench Rest
- Single Loaf Bakes: If you’re making only one loaf and haven’t pre-shaped it tightly, you can often skip bench resting. Instead, proceed directly to shaping after bulk fermentation.
- Sourdough Ciabatta & Rye Bread: Certain breads, like sourdough ciabatta and rye bread, don’t require bench resting. Ciabatta is typically divided and shaped directly, while rye breads are shaped and left to ferment without the bench rest stage due to their unique texture.
Considerations When Bench Resting
- Timing and Environment
The duration for bench resting can vary depending on the dough’s pre-shape tightness and type. Generally, a bench rest lasts between 15 to 30 minutes. The environment, such as room temperature and humidity, may also influence this resting period. Warmer environments tend to speed up fermentation, so monitoring the dough’s condition is critical.
- Dough Behavior
Observe your dough during bench rest. Well-rested dough should feel relaxed and less resistant when you shape it. Keep an eye out for any tears or difficulty in shaping, as these might suggest insufficient resting time.
- Adjusting for Different Breads
Each bread type has its characteristics and may require adjustments in resting time. For instance, sourdoughs ferment slower, allowing for a longer rest if needed, whereas yeasted breads might need shorter rests due to rapid yeast activity.
Practical Tips for Successful Bench Resting
- Keep It Covered
Covering your dough during bench rest with a cloth or a lightly-oiled plastic wrap helps prevent it from drying out, keeping the surface supple and workable when it’s time to shape.
- Mind the Clock
While flexibility is key, setting a timer as a guideline can help you keep track of resting periods, ensuring optimal relaxation without overproofing.
- Stay Adaptable
Each baking venture may differ slightly due to variations in dough composition, room conditions, and other factors. Being adaptable and responsive to these changes will aid in mastering the bench rest step.
Conclusion: Elevate Your Bread Baking
Bench resting may seem like a minor part of bread-making, but neglecting this step can impact your dough’s quality, both in handling and the final baked result. By understanding the importance of this step and learning when and how to implement it, you can significantly enhance the texture and shape of your bread. Remember, each step in the baking journey contributes to the whole, so embrace the process, practice patience, and enjoy the art of creating homemade bread. Whether you’re a novice baker or an experienced one, refining your skills step-by-step leads to delicious progress and satisfaction in every loaf.
Join the Discussion
As with every aspect of baking, continuous learning and sharing contribute to improvement. Share your experiences with us! Have you noticed differences in your baking when incorporating bench rest? What insights or tips have you gathered from your own bread-making adventures? We would love to hear from you.
This comprehensive guide should empower both beginners and seasoned bakers to appreciate and effectively apply bench resting in their bread-making process. Happy baking!