Bakery
The Perfect Bake: Mastering Flour Measurement for Delicious Results
Baking is a beloved pastime for many, offering the joy of creating delicious treats from scratch. But even seasoned bakers know that precision is key in the kitchen, especially when it comes to measuring ingredients. One seemingly simple ingredient that often trips up both novice and experienced bakers is flour. Incorrect flour measurement is a common culprit behind dense, dry, or crumbly baked goods. This comprehensive guide delves into the art of flour measurement, providing you with the knowledge and techniques to ensure your cakes, cookies, and pastries rise to perfection every time.
Why Precise Flour Measurement Matters
Before we dive into the how-to’s, let’s understand why getting the flour measurement right is crucial for baking success.
- Flour’s Role: Flour provides structure and texture to baked goods. The gluten in flour forms a network that traps air bubbles during leavening, resulting in a light and airy texture.
- Too Much Flour: When you use too much flour, the gluten network becomes dense and heavy, leading to dry, crumbly, or tough results.
- Too Little Flour: Conversely, using too little flour can result in a batter that’s too wet and doesn’t hold its shape, leading to flat or collapsed baked goods.
Precise flour measurement ensures the right balance of ingredients, guaranteeing the desired texture and consistency for your recipe.
Tools of the Trade: Choosing the Right Measuring Method
There are two primary methods for measuring flour: by weight and by volume. Let’s explore the pros and cons of each:
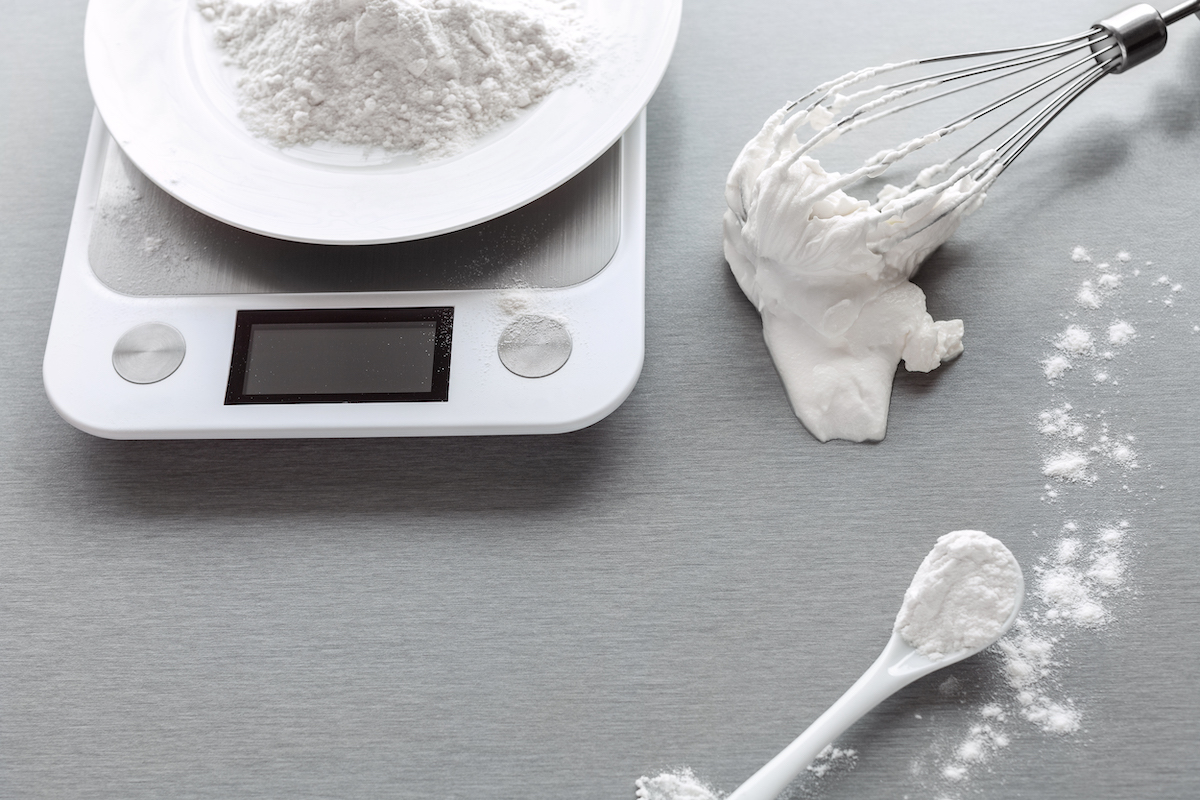
Measuring Flour by Weight: The Gold Standard
Using a kitchen scale is the most accurate and consistent way to measure flour. Flour compacts easily, and its density can vary depending on how it’s stored and handled. Scooping flour directly from the bag with a measuring cup can pack in more flour than intended, leading to inconsistent results.
Benefits of Using a Scale:
- Precision: Scales provide precise measurements in grams, eliminating the variability associated with volume measurements.
- Consistency: Weighing flour ensures consistent results every time, leading to predictable baking outcomes.
- Easy Scaling: Recipes are easily scaled up or down when using weight measurements.
Measuring Flour by Volume: A Practical Approach
While weighing flour is ideal, many home bakers rely on measuring cups. If you don’t have a scale, you can still achieve accurate measurements with a few key techniques:
Tips for Measuring Flour with Cups:
- Fluff the Flour: Before measuring, fluff the flour using a whisk, sifter, or fork to loosen it up and add air.
- Spoon and Level: Gently spoon the fluffed flour into the measuring cup until it overflows slightly. Avoid dipping the cup directly into the flour bag as this compacts the flour.
- Level Off: Use the straight edge of a knife or spatula to level off the excess flour, ensuring a consistent measurement.
Flour Measurement Conversions: A Handy Guide
Recipes often list flour measurements in cups or grams. Here’s a quick reference guide for common flour types and their weight conversions:
All-Purpose Flour, Unbleached Cake Flour, and Bread Flour
| Measurement | Grams (g) |
|---|---|
| ¼ cup | 30 |
| ⅓ cup | 40 |
| ½ cup | 60 |
| 1 cup | 120 |
| 2 cups | 240 |
| 3 cups | 360 |
Whole Wheat Flour and Graham Flour
| Measurement | Grams (g) |
|---|---|
| ¼ cup | 28.3 |
| ⅓ cup | 37.7 |
| ½ cup | 56.5 |
| 1 cup | 113 |
| 2 cups | 226 |
| 3 cups | 339 |
Bleached Cake Flour
| Measurement | Grams (g) |
|---|---|
| ¼ cup | 28.5 |
| ⅓ cup | 38 |
| ½ cup | 57 |
| 1 cup | 114 |
| 2 cups | 260 |
| 3 cups | 390 |
Pastry Flour
| Measurement | Grams (g) |
|---|---|
| ¼ cup | 26.5 |
| ⅓ cup | 35.3 |
| ½ cup | 53 |
| 1 cup | 106 |
| 2 cups | 212 |
| 3 cups | 318 |
Troubleshooting Common Flour Measurement Mistakes
Here are some common flour measurement mistakes and how to avoid them:
- Packing the Flour: Avoid dipping the measuring cup directly into the flour bag, which leads to over-packing and inaccurate measurements. Fluff the flour and use a spoon to gently fill the cup.
- Not Levelling Off: Always level off the excess flour with a straight edge for consistency.
- Using the Wrong Measuring Cup: Use dry measuring cups for flour, not liquid measuring cups. Dry measuring cups have a flat rim for accurate levelling.
Beyond the Basics: Tips for Flour Handling
- Store Flour Properly: Store flour in an airtight container in a cool, dry place to prevent clumping and moisture absorption.
- Sift When Needed: Sifting flour adds air and removes lumps, especially important for delicate cakes and pastries.
- Don’t Overmix: Once flour is added to the batter, avoid overmixing, which can develop gluten and result in a tough texture.
The Final Word: Flour Power in Your Hands
Mastering flour measurement is a fundamental step towards becoming a confident baker. By understanding the importance of precision and employing the right techniques, you can ensure consistent, delicious results every time you bake. Experiment with different flour types and recipes, and remember that practice makes perfect! So grab your scale or measuring cups, embrace the art of flour measurement, and enjoy the satisfaction of creating bakery-worthy treats in your own kitchen.