Baking
Solving the Crumbly Bread Mystery: Common Causes and How to Fix Them
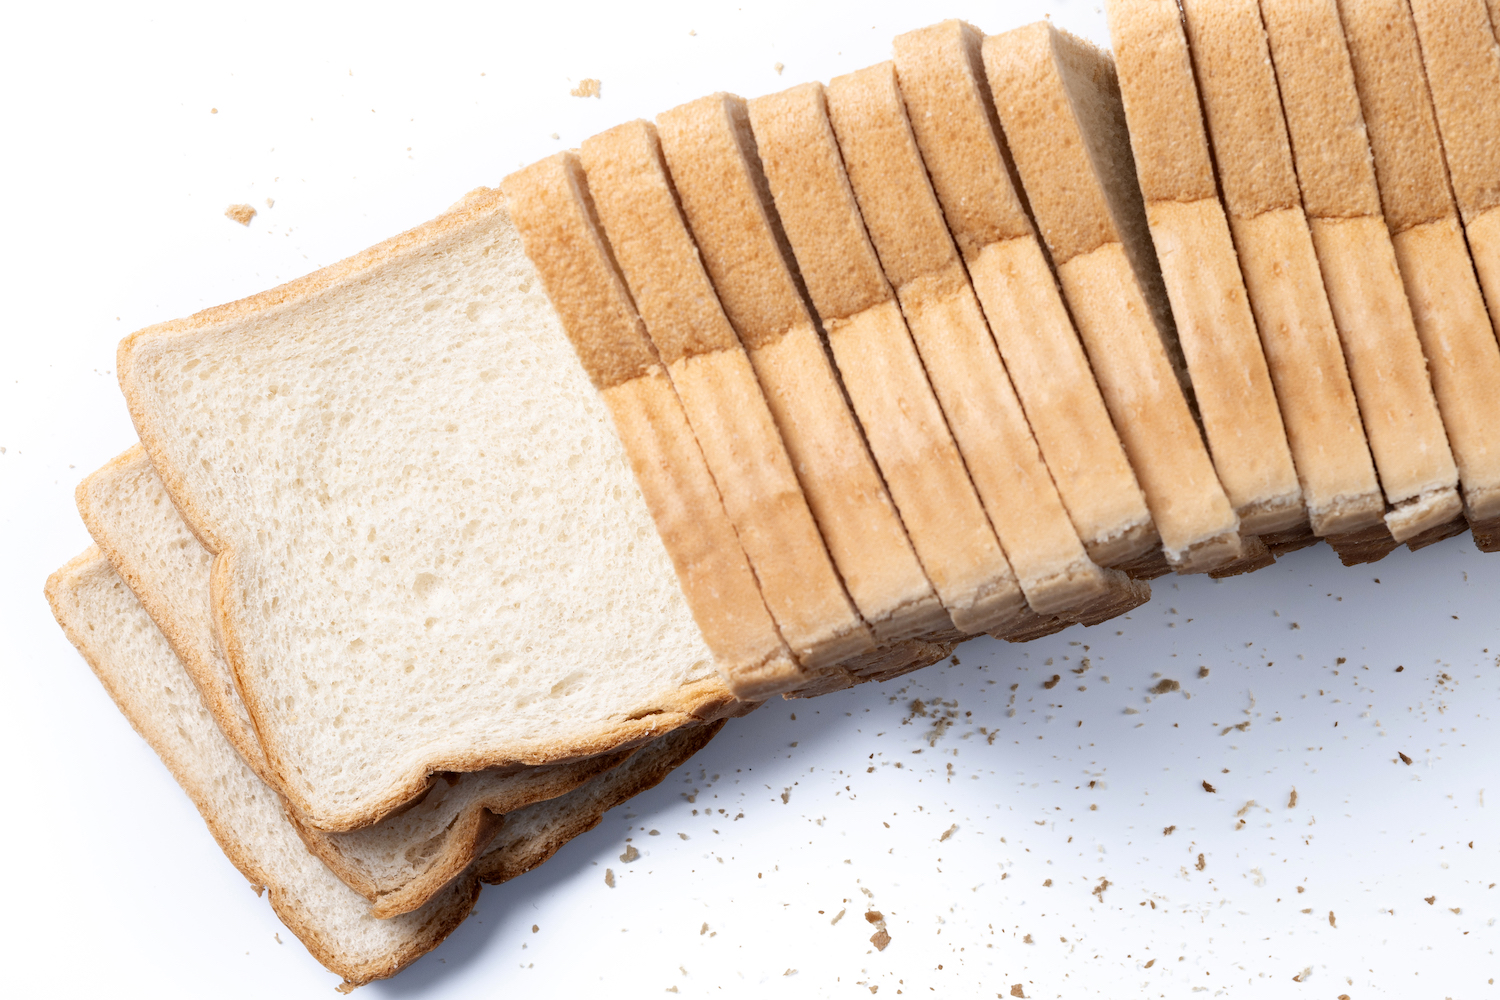
Picture this: You spent hours carefully following a bread recipe. You mixed, you kneaded, you patiently waited for the dough to rise. Your kitchen smells amazing as the loaf bakes to a beautiful golden brown. You pull it out, let it cool (mostly!), and reach for the knife, anticipating that perfect slice… only to have it crumble into a pile of dry pieces as you cut. Oh, the disappointment!
If this sounds familiar, you are definitely not alone. It’s one of the most common frustrations beginner bakers face. You followed the instructions, so why is my bread crumbly after baking? It’s easy to feel discouraged, but don’t hang up your apron just yet! Crumbly bread is usually a sign that something specific went slightly off track during the process, and the good news is, most of these issues are easily fixable once you know what to look for.
This guide is here to be your bread-baking detective. We’ll explore the most common culprits behind that disappointing crumbly texture and provide clear, actionable solutions to help you achieve the soft, sliceable, wonderful bread you’re aiming for. Let’s solve this mystery together!
Believe it or not, the most frequent cause of crumbly bread often happens right at the beginning: measuring your ingredients, especially the flour.
Too Much Flour: The Most Common Cause?
Adding even a little extra flour to your dough can throw off the hydration balance, resulting in a final loaf that is dense, dry, and – you guessed it – crumbly. Flour acts like a sponge, soaking up the liquid.1 Too much sponge, not enough liquid = dry bread.
Why Weighing Ingredients Beats Measuring Cups (Accuracy!)
Here’s a crucial tip for all baking: Invest in a digital kitchen scale. Measuring flour by volume (using cups) is notoriously inaccurate. How tightly you pack the flour into the cup, whether you scoop directly from the bag or spoon it in, can drastically change the amount of flour you actually add – sometimes by 20-30% or more! Baking is chemistry, and accuracy matters. Weighing your ingredients, especially flour and water, ensures you’re using the exact amounts called for in the recipe.
How Scooping Flour Incorrectly Adds Extra Flour
If you dip your measuring cup directly into the flour bag and scoop, you are compressing the flour and likely adding significantly more than the recipe intended.
The Fix: Invest in a Scale, Spoon & Level Method if Using Cups
- Best Solution: Get a digital kitchen scale and use recipes that provide ingredients by weight (grams or ounces). It’s the single best investment you can make for consistent baking results. New to weighing? Check out our guide on Baking Basics: Measuring Ingredients Accurately (hypothetical internal link).
- If Using Cups: Use the “spoon and level” method. Fluff up the flour in its container. Use a spoon to lightly scoop the flour into your measuring cup until it’s overflowing. Then, use the straight edge of a knife or spatula to level off the excess flour across the top of the cup. Do not shake or tap the cup to settle the flour.