Baking
Solving the Crumbly Bread Mystery: Common Causes and How to Fix Them
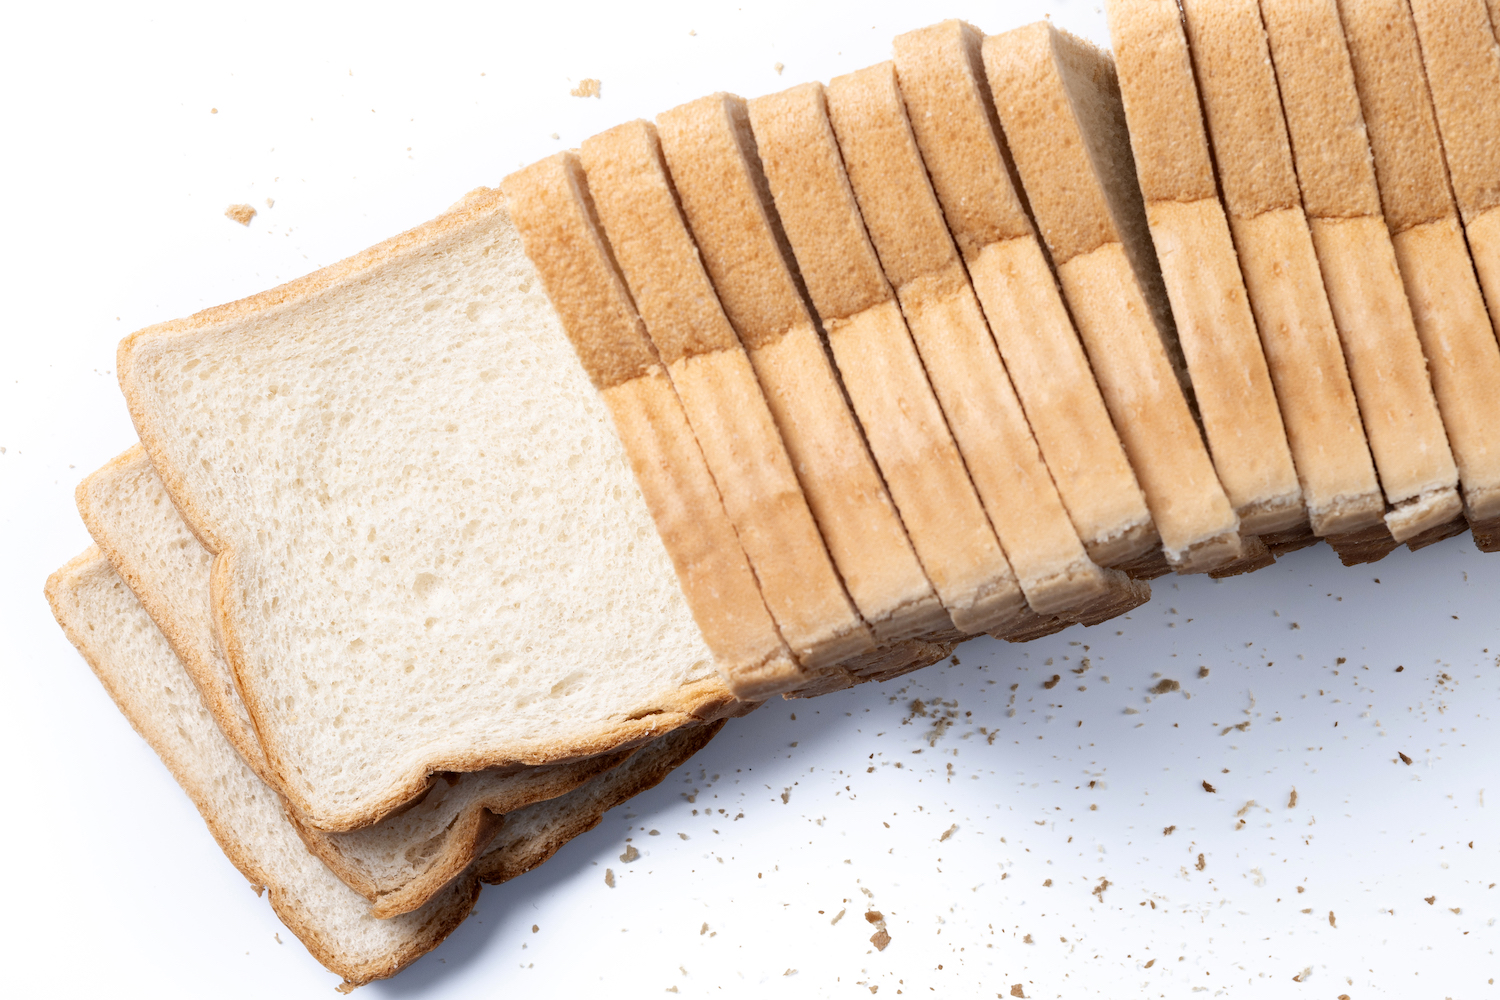
Picture this: You spent hours carefully following a bread recipe. You mixed, you kneaded, you patiently waited for the dough to rise. Your kitchen smells amazing as the loaf bakes to a beautiful golden brown. You pull it out, let it cool (mostly!), and reach for the knife, anticipating that perfect slice… only to have it crumble into a pile of dry pieces as you cut. Oh, the disappointment!
If this sounds familiar, you are definitely not alone. It’s one of the most common frustrations beginner bakers face. You followed the instructions, so why is my bread crumbly after baking? It’s easy to feel discouraged, but don’t hang up your apron just yet! Crumbly bread is usually a sign that something specific went slightly off track during the process, and the good news is, most of these issues are easily fixable once you know what to look for.
This guide is here to be your bread-baking detective. We’ll explore the most common culprits behind that disappointing crumbly texture and provide clear, actionable solutions to help you achieve the soft, sliceable, wonderful bread you’re aiming for. Let’s solve this mystery together!
Letting your dough rise (proofing) is crucial, but getting the timing wrong can affect the final texture.
Under-Proofing
If you don’t let your dough rise long enough, not enough gas will be produced, resulting in a dense, heavy loaf. While denseness isn’t exactly the same as crumbliness, the poor texture can sometimes contribute to it feeling less pleasant and potentially falling apart more easily than a well-risen loaf.
Over-Proofing: The Bigger Danger for Crumbliness
This is often a more likely culprit for crumbly texture related to proofing. If the dough proofs for too long, the yeast produces excessive gas, and the gluten network becomes over-stretched and weak, like an old balloon.18 The structure can’t support itself, may collapse during baking, and the resulting bread often has a coarse, open, and very crumbly texture.
The Fix: Learn the Poke Test for Perfect Proofing
- Don’t Rely Only on Time: Recipe proofing times are just estimates. Factors like room temperature and yeast activity affect the actual time needed.
- Master the Poke Test: Gently press your fingertip into the side of the proofing dough.
- Springs back immediately: Under-proofed. Needs more time.
- Springs back slowly, leaving a slight indent: Perfectly proofed. Ready to bake!
- Indent stays completely: Over-proofed. Bake immediately, expect potential issues.
- Need a refresher on proofing? Our Cold Oven Proofing Guide (hypothetical internal link) also covers the poke test.